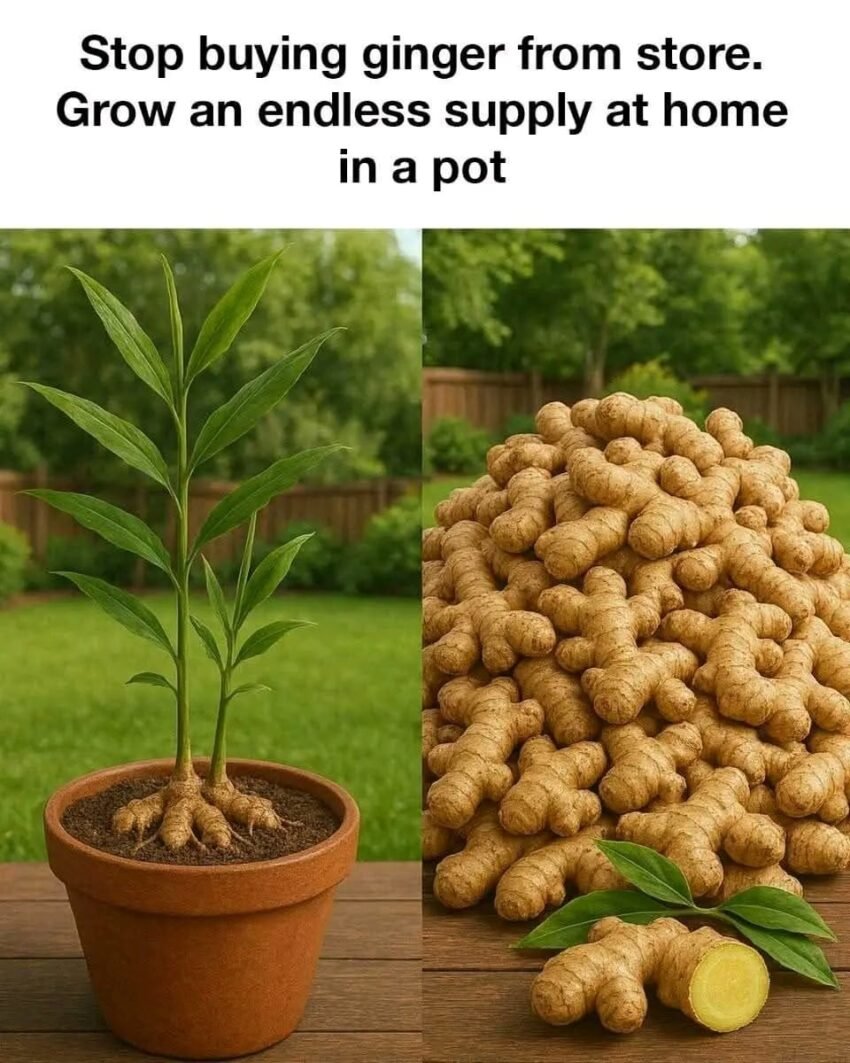
Stop Buying Ginger from the Store: Grow an Endless Supply at Home in a Pot
Save money, enjoy fresh ginger anytime, and harness its health benefits with this simple home-growing method
Learn how to grow fresh ginger at home in a pot. Easy, low-maintenance steps to have an endless supply of this healthy, aromatic root year-round.
Introduction
Ginger is a staple in many kitchens and natural remedies, known for its anti-inflammatory properties, digestive benefits, and delicious flavor. But buying fresh ginger from the store can be expensive and often lacking in freshness.
Good news: You can grow your own ginger at home in a simple pot, giving you a continuous supply while saving money and ensuring peak flavor and nutrient content.
In this guide, we’ll show you how to grow ginger indoors or outdoors, step by step.
Why Grow Your Own Ginger?
-
Cost-effective: Store-bought ginger can be pricey, especially organic.
-
Fresh and flavorful: Homegrown ginger is more aromatic and potent.
-
Endless supply: Once established, you can harvest ginger continuously.
-
Health benefits: Ginger is rich in antioxidants, vitamins, and anti-inflammatory compounds.
What You’ll Need
-
Fresh ginger root with visible “eyes” or buds
-
A wide, shallow pot (ginger spreads horizontally)
-
Rich, well-draining potting soil
-
Warm, humid environment or sunny indoor spot
-
Watering can for light, consistent moisture
Step 1: Choose and Prepare Your Ginger
-
Select fresh, firm ginger from the store or garden.
-
Check for small growth buds or “eyes” on the surface.
-
Soak ginger in warm water overnight to encourage sprouting.
Step 2: Planting
-
Fill your pot with loose, fertile soil, leaving 1–2 inches at the top.
-
Plant ginger horizontally with buds facing up, covering lightly with 1–2 inches of soil.
-
Space multiple rhizomes a few inches apart if planting more than one.
Step 3: Care and Maintenance
-
Watering: Keep soil lightly moist, but not soggy. Overwatering can cause root rot.
-
Sunlight: Ginger prefers indirect sunlight or partial shade. Direct sun can scorch leaves.
-
Temperature: Ideal range is 70–85°F (21–29°C); protect from frost.
-
Fertilizing: Feed every 4–6 weeks with balanced liquid fertilizer for healthy growth.
Step 4: Harvesting
-
Ginger can be harvested after 8–10 months for fully mature roots.
-
For a smaller, tender harvest, you can gently dig around the edges of the pot after 3–4 months.
-
Leave some rhizomes in the soil to continue growing for future harvests.
Step 5: Tips for Endless Supply
-
Save a small piece of harvested ginger with a bud to replant.
-
Rotate pots or add more soil to encourage continuous growth.
-
Maintain a warm, humid indoor environment in winter to keep ginger thriving.
Bonus Uses for Homegrown Ginger
-
Tea and beverages: Fresh ginger tea boosts immunity and digestion.
-
Cooking: Adds flavor to soups, stir-fries, and baked goods.
-
Health remedies: Reduces nausea, inflammation, and colds.
Growing your own ginger is simple, cost-effective, and highly rewarding. With just a pot, soil, and a little care, you can enjoy fresh, nutrient-rich ginger all year round.
💬 Tip: Start with one piece of ginger in a small pot and watch your homegrown supply multiply, giving you endless possibilities for cooking, tea, and natural remedies.